Skip to content
 Master Windows Disk Management: Your Ultimate Drive Control Guide

Introduction
Effectively managing your storage is crucial for optimal Windows performance and organization. The built-in Disk Management tool provides a powerful interface for controlling your hard drives, SSDs, and other storage devices. This comprehensive guide will walk you through everything you need to know to master Windows Disk Management, from accessing the tool to performing essential tasks like partitioning, formatting, and troubleshooting common issues, empowering you to take full control of your digital storage.
Understanding Windows Disk Management: Your Drive Control Center
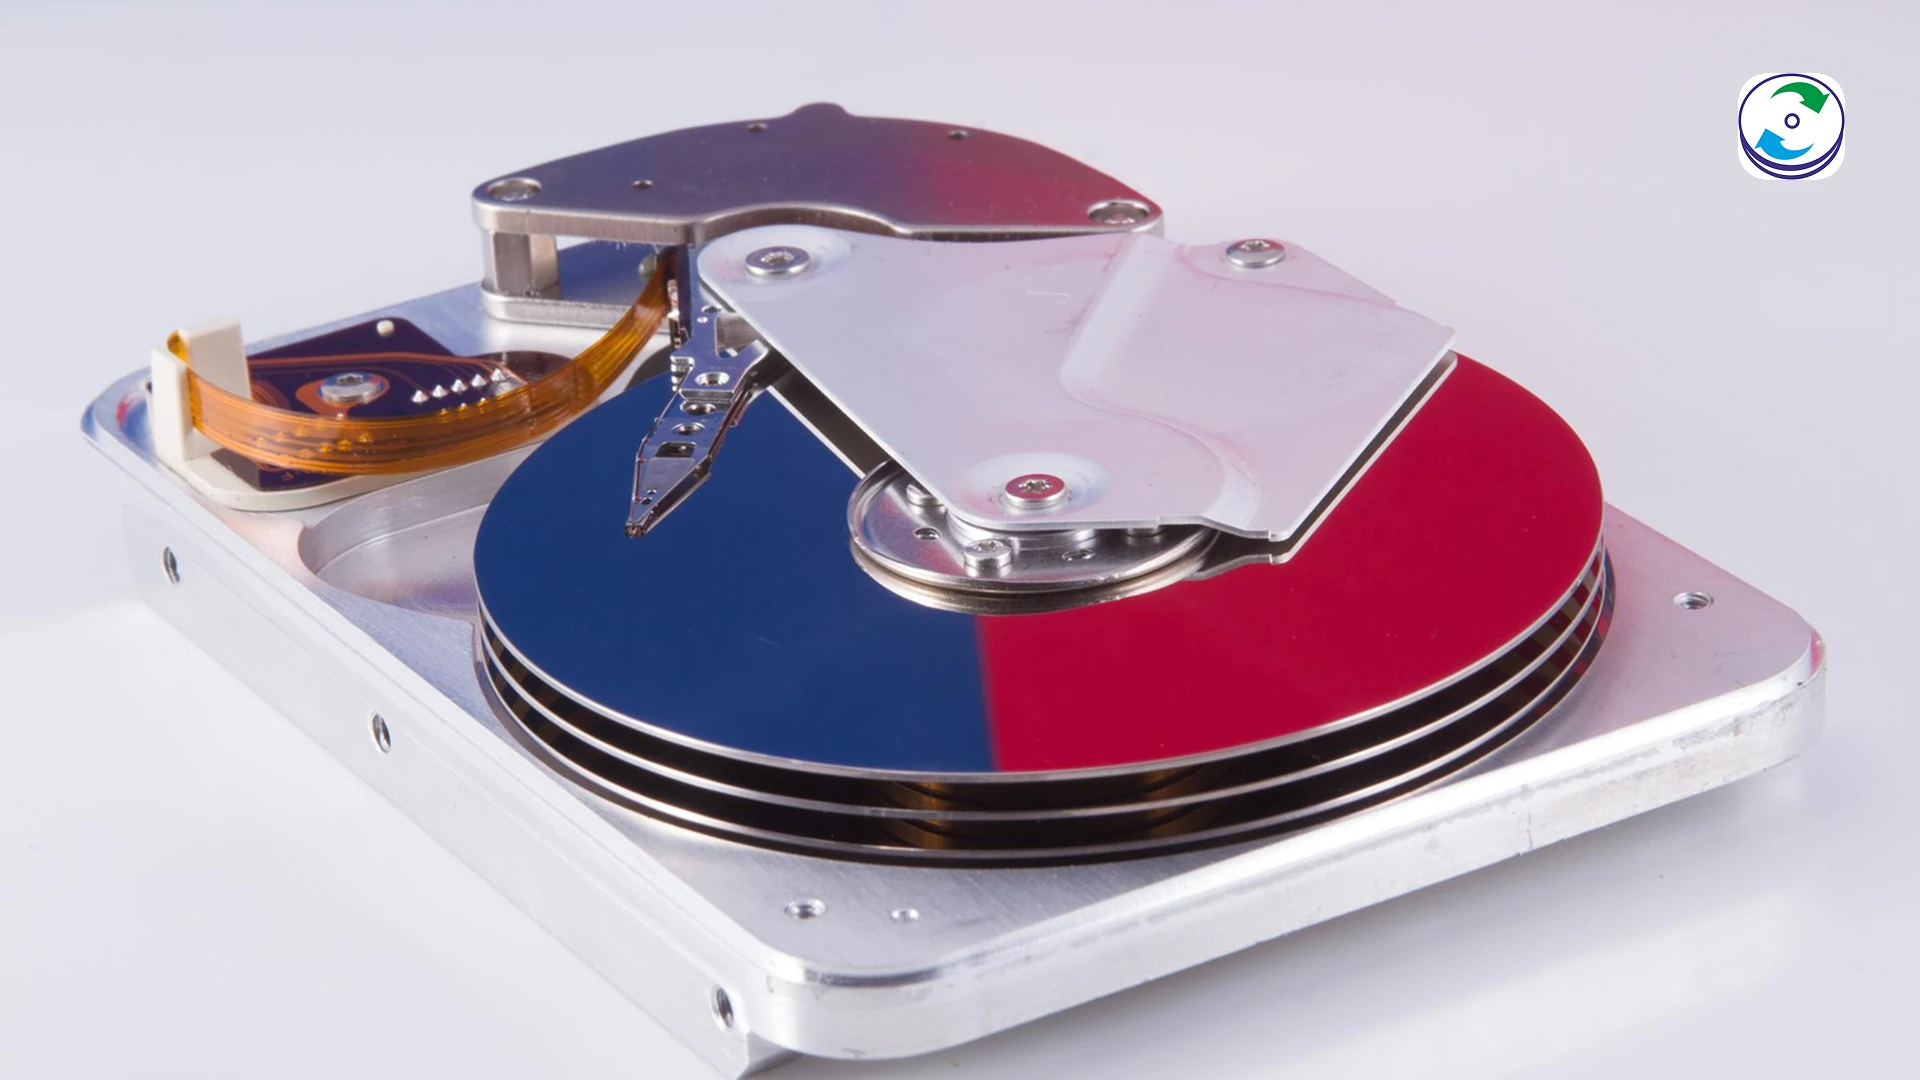
Windows Disk Management is a system utility that allows you to view and manage the disk drives installed on your computer and the partitions associated with those drives. It’s your go-to tool for organizing, preparing, and troubleshooting your storage.
Accessing Disk Management: Multiple Ways to Open the Tool
There are several convenient ways to launch Disk Management:
Method 1: Using the Start Menu Search
- Click the Start Menu button.
- Type “Disk Management”.
- Click on “Create and format hard disk partitions” in the search results.
Method 2: Via the Right-Click Start Menu (Power User Menu)
- Right-click on the Start Menu button (or press Windows key + X).
- Select “Disk Management” from the menu.
Method 3: Using the Run Command
- Press Windows key + R to open the Run dialog box.
- Type “diskmgmt.msc” and press Enter or click “OK”.
Key Functions of Disk Management: What You Can Do
Disk Management offers a wide range of functionalities for managing your storage:
Viewing Disk Information: Understanding Your Drives
Upon opening Disk Management, you’ll see a graphical representation of your disks and their partitions, along with a list view at the bottom providing detailed information like capacity, free space, and file system.
Creating and Deleting Partitions: Organizing Your Storage
Partitions allow you to divide a physical drive into multiple logical drives, each with its own drive letter and file system. You can create new partitions from unallocated space or delete existing partitions (be cautious as this erases all data on the partition).
Formatting Volumes: Preparing Drives for Data
Before you can store data on a partition, it needs to be formatted with a file system (like NTFS or FAT32). Formatting prepares the partition for data storage and organization.
Assigning or Changing Drive Letters: Easy Identification
Disk Management allows you to assign or change the drive letters (e.g., C:, D:, E:) associated with your partitions, making them easier to identify in File Explorer.
Extending and Shrinking Volumes: Managing Disk Space
You can extend a volume (increase its size) by using adjacent unallocated space on the same disk. Similarly, you can shrink a volume to create unallocated space that can be used for new partitions or extending other volumes.
Changing Drive Paths: Mounting Volumes as Folders
Instead of a drive letter, you can mount a volume to an empty folder on an NTFS volume. This can be useful for organizing large amounts of data within your existing folder structure.
Converting Basic to Dynamic Disks (Advanced)
Basic disks are the standard storage type in Windows. Dynamic disks offer more advanced features like spanned and striped volumes but are less compatible with other operating systems. Conversion is usually non-destructive but should be done with caution and a backup.
Creating Spanned and Striped Volumes (RAID 0 & JBOD)
Dynamic disks allow you to create spanned volumes (combining unallocated space from multiple disks into one logical volume) and striped volumes (RAID 0, which increases performance by striping data across multiple disks but offers no redundancy).
Troubleshooting Common Disk Management Issues
You might encounter certain problems while using Disk Management:
Unallocated Space Not Showing?
Ensure the unallocated space is adjacent to the volume you want to extend and on the same physical disk. You might need to delete a partition in between (after backing up its data).
Cannot Extend Volume (Grayed Out Option)?
The “Extend Volume” option is often grayed out if there’s no adjacent unallocated space to the right of the volume you want to extend, or if the volume is not formatted with NTFS.
Drive Not Initialized?
A disk might go offline due to communication issues or errors. Right-click on the offline disk and select “Online.” Check cables and drivers if the issue persists.
Follow these best practices to ensure efficient and safe disk management:
Plan Your Partitions Wisely
Consider your storage needs and organize your drives logically. Separate partitions for the operating system, applications, and personal files can improve organization and potential recovery efforts.
Regularly Monitor Disk Space
Keep an eye on the free space on your partitions to avoid performance issues and ensure you have enough room for new data.
Understand Basic vs. Dynamic Disks
Choose the disk type that best suits your needs and understand the implications of converting between them.